
If you’ve been looking for a way to create dollar texture effects in Photoshop, you’ve come to the right place!
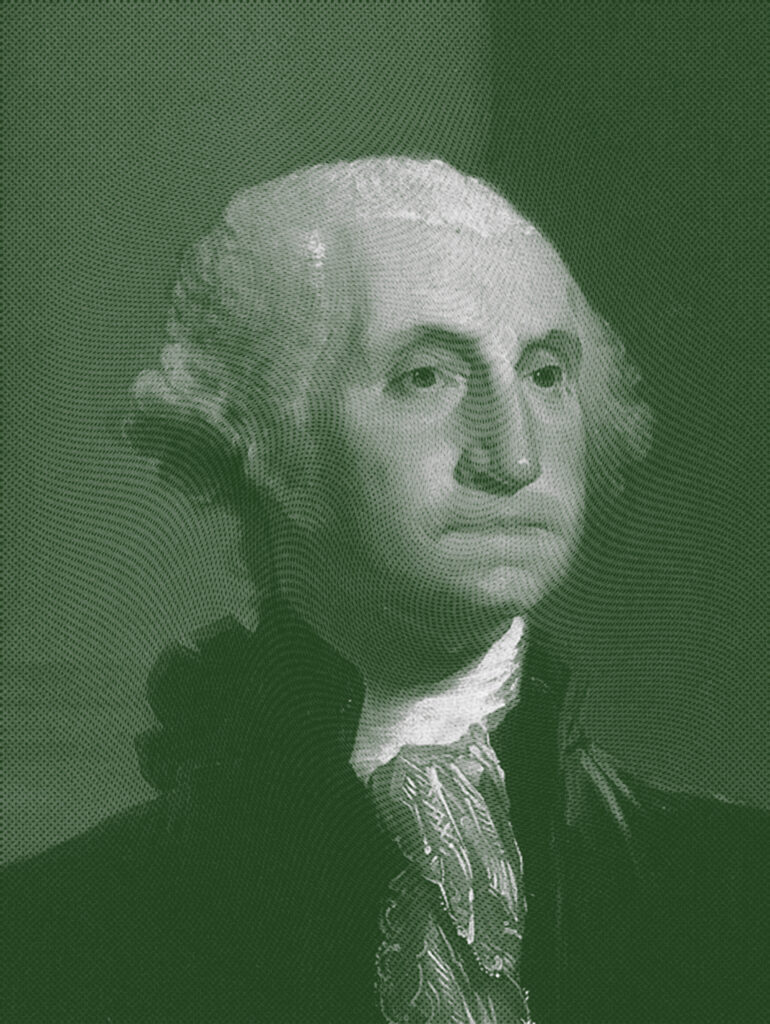
In this article, I’ll show you step by step how to create these cool effects using the world’s most popular photo editing software.
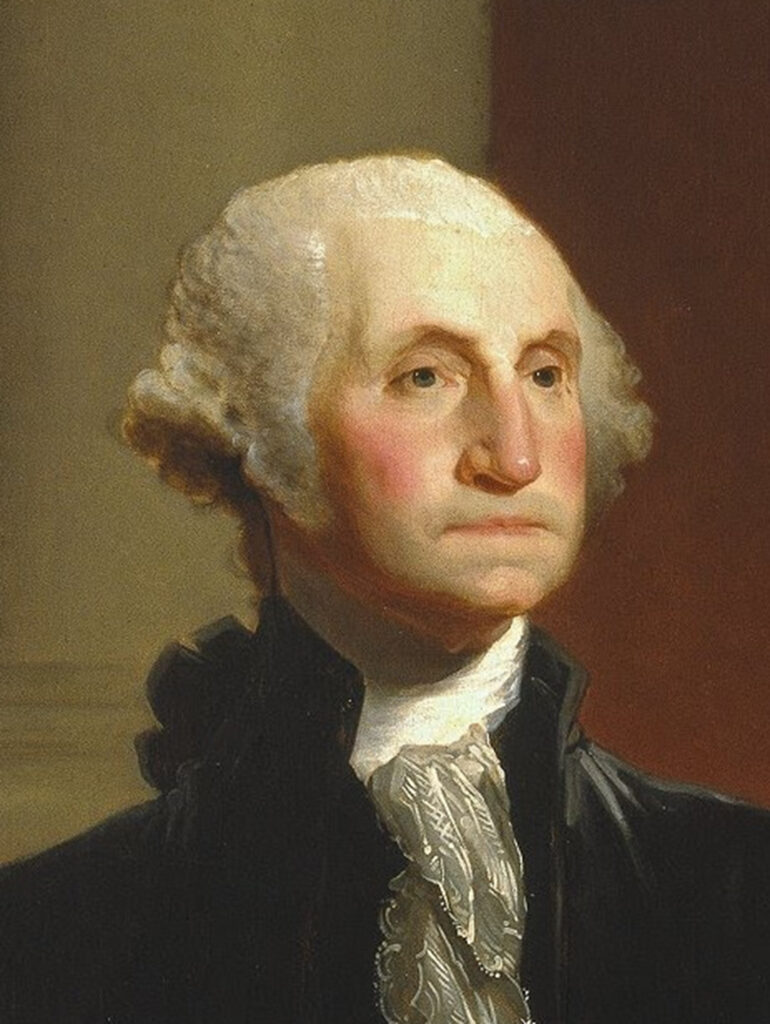
Step 1: Prepare the background image. First of all, you’ll need a high quality image, which can be used as a basis for creating the texture effect. I chose George Washington painted by Gilbert Stuart, who is more suitable than him for our effect?
Step 2: Press CTRL + SHIFT + U (de-saturate) on the background layer. Create a new fill layer (solid color mode) filling only the B (brightness) field to 50% and add to swatches. Now convert this new layer (by pressing the right mouse button) into a Smart Object.
Step 3: From the filter gallery select Halftone Pattern and set the values to obtain the effect as in the video on the side. I set size 5 and contrast 0, but the values should be reviewed based on the size and resolution of the background file. Create a new effects layer – halftone pattern and add a new Torn Edges effect (I’ve set Image Balance 25, Tint 11 and Contrast 1), values to always revise based on the background file.
Step 4: On the effects layer we choose a blending mode that best suits our texture (I chose Vivid Light), from the Filter menu select Distort – Spiral Effect. Here too I entered the angle value 126 but you have to try it on your reference file.
Step 5: Last Touch: From the Fill/Adjustment Layer select Gradient Map. By first clicking on the shade and then on the left slider of the shade, choose a greenish shade, which is closest to the color of the dollar in this case. Blending Mode: linear dodge and fill to our liking (I chose 83%).
Have fun!
